A Complete Guide to Implementing Internationalization Solutions with Next.js

github address: https://github.com/MrXujiang/next-admin
Demo address: http://next-admin.com
Content outline
- Next-Admin basic introduction
- Nextjs internationalization common solutions
- Implement Nextjs internationalization solution from scratch
- Next-Admin later planning
Introduction to Next-Admin
 picture
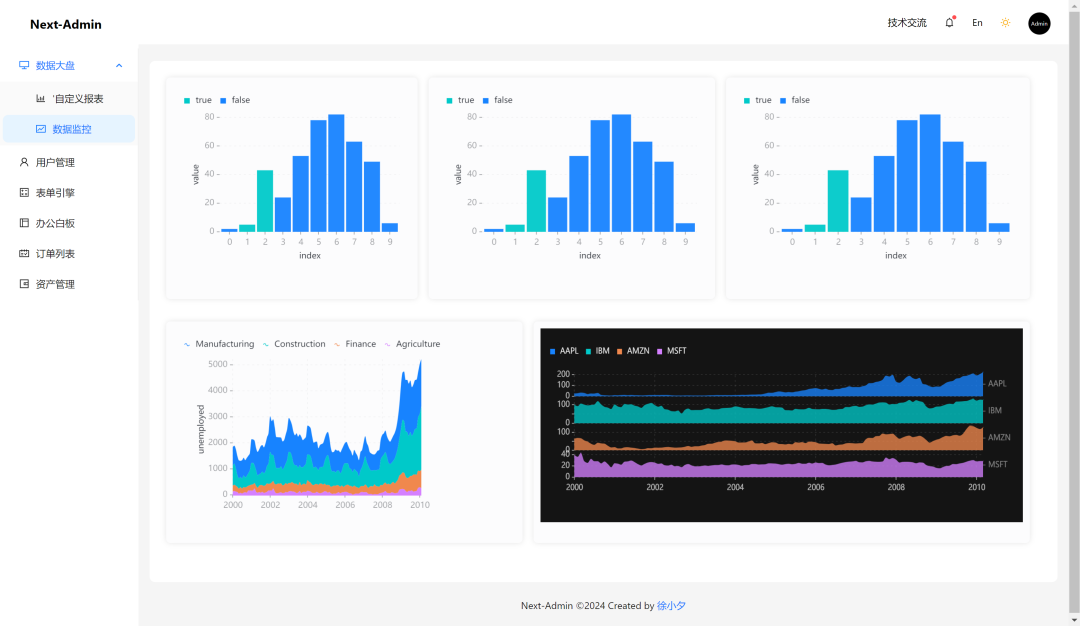
Next-Admin is an open source middle and backend (isomorphic) system based on the latest version of nextjs + Antd5.0. We can use it to easily implement front-end and back-end isomorphic projects, supporting SSR and CSR. The specific features are as follows:
- Next14.0 + antd5.0
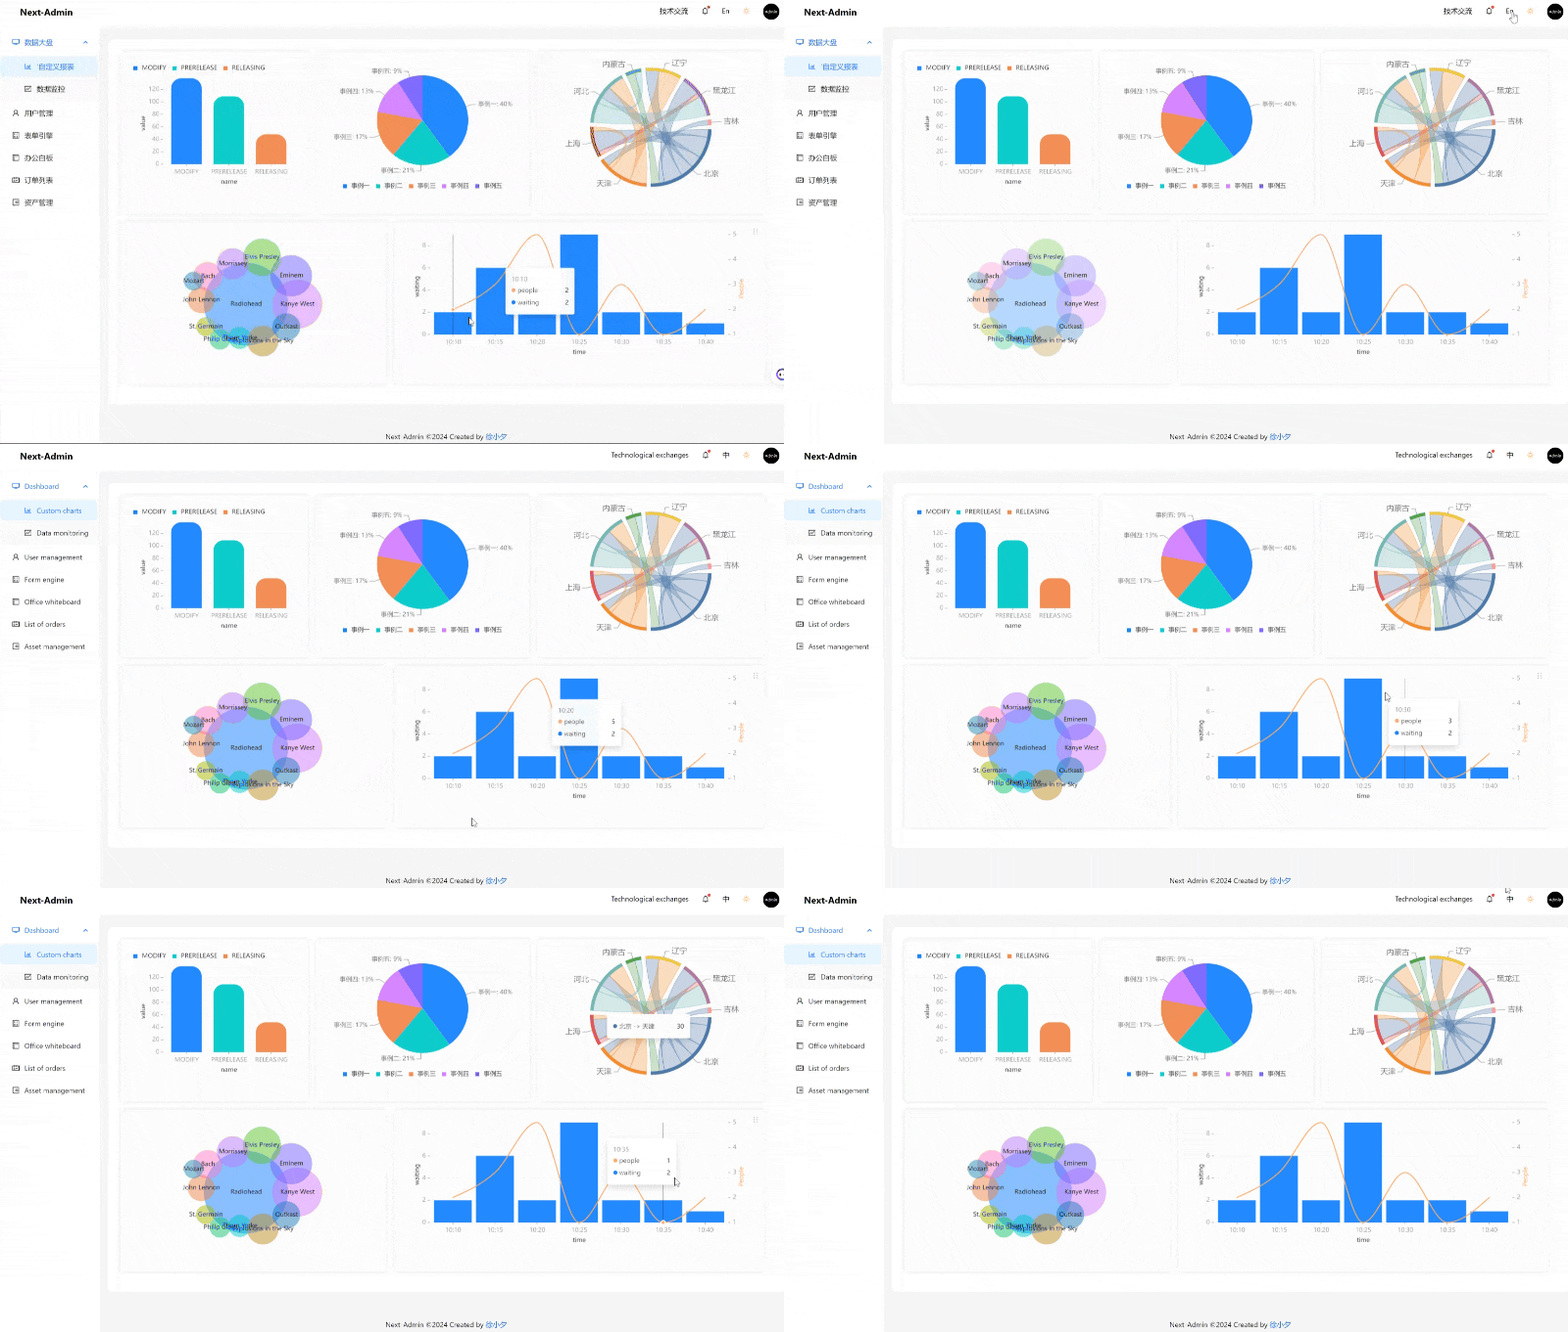
- Support internationalization
- Support theme switching
- Built-in data visualization reports
- Out-of-the-box business page templates
- Support custom drag and drop billboards
- Integrated office whiteboard
- NextFull stack best practices
- Supports mobile and PC adaptation
Nextjs internationalization common solutions
 picture
There are many internationalization plug-ins for Next.js. Here are some of the commonly used ones:
- next-i18next: A popular Next.js internationalization plugin that provides rich functionality, including support for multi-language routing, server-side rendering and static generation, and simple translation file management.
- next-intl: Internationalization plug-in for Next.js, which provides an internationalization solution based on React Intl, supporting multi-language text and formatting.
- next-translate: This plugin provides a simple internationalization solution for Next.js, supports static generation and server-side rendering, and is easy to configure and use.
After personally experiencing the above plug-ins, I chose next-intl, which is very good in terms of expansion and flexibility of use. Next, I will share with you how to use next-intl to realize the internationalization of the Next project.
Implement Nextjs internationalization solution from scratch
 picture
1. First we install next-intl:
pnpm add next-intl- 1.
2. Create a message directory in the root directory of the Nextjs project, and then create a new language pack file:
# messages
- zh.json
- en.json- 1.
- 2.
- 3.
Of course, if you have translation needs for other languages, you can also add corresponding language files. Here is a language name mapping table recommended for you:
 picture
3. Create a new i18n.ts file under src to configure our internationalization logic.
// src/i18n.tsx
import {headers} from 'next/headers';
import {notFound} from 'next/navigation';
import {getRequestConfig} from 'next-intl/server';
import {locales} from './navigation';

export default getRequestConfig(async ({locale}) => {
  // Validate that the incoming `locale` parameter is valid
  if (!locales.includes(locale as any)) notFound();

  const now = headers().get('x-now');
  const timeZone = headers().get('x-time-zone') ?? 'Europe/Vienna';
  const messages = (await import(`../messages/${locale}.json`)).default;

  return {
    now: now ? new Date(now) : undefined,
    timeZone,
    messages,
    defaultTranslationValues: {
      globalString: 'Global string',
      highlight: (chunks) => <strong>{chunks}</strong>
    },
    formats: {
      dateTime: {
        medium: {
          dateStyle: 'medium',
          timeStyle: 'short',
          hour12: false
        }
      }
    },
    onError(error) {
      if (
        error.message ===
        (process.env.NODE_ENV === 'production'
          ? 'MISSING_MESSAGE'
          : 'MISSING_MESSAGE: Could not resolve `missing` in `Index`.')
      ) {
        // Do nothing, this error is triggered on purpose
      } else {
        console.error(JSON.stringify(error.message));
      }
    },
    getMessageFallback({key, namespace}) {
      return (
        '`getMessageFallback` called for ' +
        [namespace, key].filter((part) => part != null).join('.')
      );
    }
  };
});- 1.
- 2.
- 3.
- 4.
- 5.
- 6.
- 7.
- 8.
- 9.
- 10.
- 11.
- 12.
- 13.
- 14.
- 15.
- 16.
- 17.
- 18.
- 19.
- 20.
- 21.
- 22.
- 23.
- 24.
- 25.
- 26.
- 27.
- 28.
- 29.
- 30.
- 31.
- 32.
- 33.
- 34.
- 35.
- 36.
- 37.
- 38.
- 39.
- 40.
- 41.
- 42.
- 43.
- 44.
- 45.
- 46.
- 47.
- 48.
- 49.
- 50.
- 51.
This logic globally configures the path for internationalized loading, the way to format data, time and other parameters. Of course, for more logical processing, please refer to the next-intl document.
Need to add the contents of the navigation.tsx file:
import {
    createLocalizedPathnamesNavigation,
    Pathnames
  } from 'next-intl/navigation';

  export const defaultLocale = 'zh';

  export const locales = ['en', 'zh'] as const;

  export const localePrefix =
    process.env.NEXT_PUBLIC_LOCALE_PREFIX === 'never' ? 'never' : 'as-needed';

  export const pathnames = {
    '/': '/',
    '/user': '/user',
    '/dashboard': '/dashboard',
    // '/nested': {
    //   en: '/next-home',
    //   zh: '/next-zh-home'
    // },
  } satisfies Pathnames<typeof locales>;

  export const {Link, redirect, usePathname, useRouter} =
    createLocalizedPathnamesNavigation({
      locales,
      localePrefix,
      pathnames
});- 1.
- 2.
- 3.
- 4.
- 5.
- 6.
- 7.
- 8.
- 9.
- 10.
- 11.
- 12.
- 13.
- 14.
- 15.
- 16.
- 17.
- 18.
- 19.
- 20.
- 21.
- 22.
- 23.
- 24.
- 25.
- 26.
- 27.
- 28.
The above code defines internationalization:
- Default language and language list
- route map
- Internationalization path prefix
In this way, we will have a good ts prompt when encapsulating the international switching component later.
4. Configure next internationalization middleware
We create a new middleware.ts in the src directory with the following content:
import createMiddleware from 'next-intl/middleware';
import {locales, pathnames, localePrefix, defaultLocale} from './navigation';

export default createMiddleware({
  defaultLocale,
  localePrefix,
  pathnames,
  locales,
});

export const config = {
  // Skip all paths that should not be internationalized
  matcher: ['/((?!_next|.*\\..*).*)']
};- 1.
- 2.
- 3.
- 4.
- 5.
- 6.
- 7.
- 8.
- 9.
- 10.
- 11.
- 12.
- 13.
- 14.
In this way, the internationalization plan is initially completed. Next, let’s take a closer look at how to use internationalization to write copy on the page.
5. Use i18n in components/pages
The international definition of next-intl supports namespaces. We can set the namespace through nested structures in the language files corresponding to messages, and manage the internationalized text of different pages in an orderly manner:
// zh.json
{
    "index": {
        "title": "Next-Admin",
        "desc": "一款基于NextJS 14.0+ 和 antd5.0 开发的全栈开箱即用的多页面中后台管理解决方案",
        "log": {
            "title": "Next-Admin 进程规划",
            "1": "Next + antd5基础工程方案",
            "2": "国际化语言支持",
            "3": "登录注册 / 数据大盘 / 业务列表页面",
            "4": "图标管理 / 素材管理",
            "5": "思维导图 / 流程图 / 3D可视化页面",
            "6": "页面搭建引擎 / 表单引擎",
            "7": "万维表"
        },
        "try": "立即体验"
    },
    "global": {
        "technological exchanges": "技术交流",
        "dashboard": "数据大盘",
        "customChart": "'自定义报表",
        "monitor": "数据监控",
        "userManage": "用户管理",
        "formEngine": "表单引擎",
        "board": "办公白板",
        "orderList": "订单列表",
        "resource": "资产管理"
    },
    // ...
}- 1.
- 2.
- 3.
- 4.
- 5.
- 6.
- 7.
- 8.
- 9.
- 10.
- 11.
- 12.
- 13.
- 14.
- 15.
- 16.
- 17.
- 18.
- 19.
- 20.
- 21.
- 22.
- 23.
- 24.
- 25.
- 26.
- 27.
- 28.
- 29.
- 30.
So we can use it like this:
'use client';
import { useTranslations } from 'next-intl';

export default Page(){
  const t = useTranslations('global');

  return <div> { t('technological exchanges') } </div>
}- 1.
- 2.
- 3.
- 4.
- 5.
- 6.
- 7.
- 8.
Similarly, we can also use dynamic variables in international copywriting:
// en.json
{
  "weclome": "Hello {name}!"
}

// page.tsx
t('weclome', {name: 'Next-Admin'}); // "Hello Next-Admin!"- 1.
- 2.
- 3.
- 4.
- 5.
- 6.
- 7.
The official documentation also introduces how to use mathematical calculations, time and date formatting and other functions. Overall, it is very powerful.
6. Precautions
Since the next project supports client-side rendering and server-side rendering, the way to use next-intl is also different. If we have a server-side rendering error related to next-intl in the page, we can add layout.tsx at the same level of the page. Then make the following package:
import { NextIntlClientProvider, useMessages } from 'next-intl';

type Props = {
    children: React.ReactNode;
    params: {locale: string};
};

export default function LocaleLayout({children, params: { locale }}: Props) {
    // Receive messages provided in `i18n.ts`
    const messages = useMessages();

    return <NextIntlClientProvider locale={locale} messages={messages}>
                {children}
            </NextIntlClientProvider>
}- 1.
- 2.
- 3.
- 4.
- 5.
- 6.
- 7.
- 8.
- 9.
- 10.
- 11.
- 12.
- 13.
- 14.
- 15.
This can solve the error reporting problem (I personally experimented and found it easy to use).
At the same time, this is also a solution based on nextjs nested layout. In order to use next-intl, we also need to make the following changes in the next/src/app directory:
next-admin\src\app\[locale]- 1.
That is to add a layer of [locale] directory.
Okay, with the above configuration we can happily use internationalization. I have synchronized all the codes to the Next-Admin warehouse, and everyone can use it out of the box.